-40%
FlooringInc 3/8" EVA Soft Wood Foam Puzzle Floor Yoga & Play Mat Tiles, 2'x2'
$ 20.57
- Description
- Size Guide
Description
WELCOME TO THE OFFICIAL INCSTORES EBAY STORESAVE 30% OFF TODAY
3/8" Soft Wood Tiles
Product Specification (per tile)
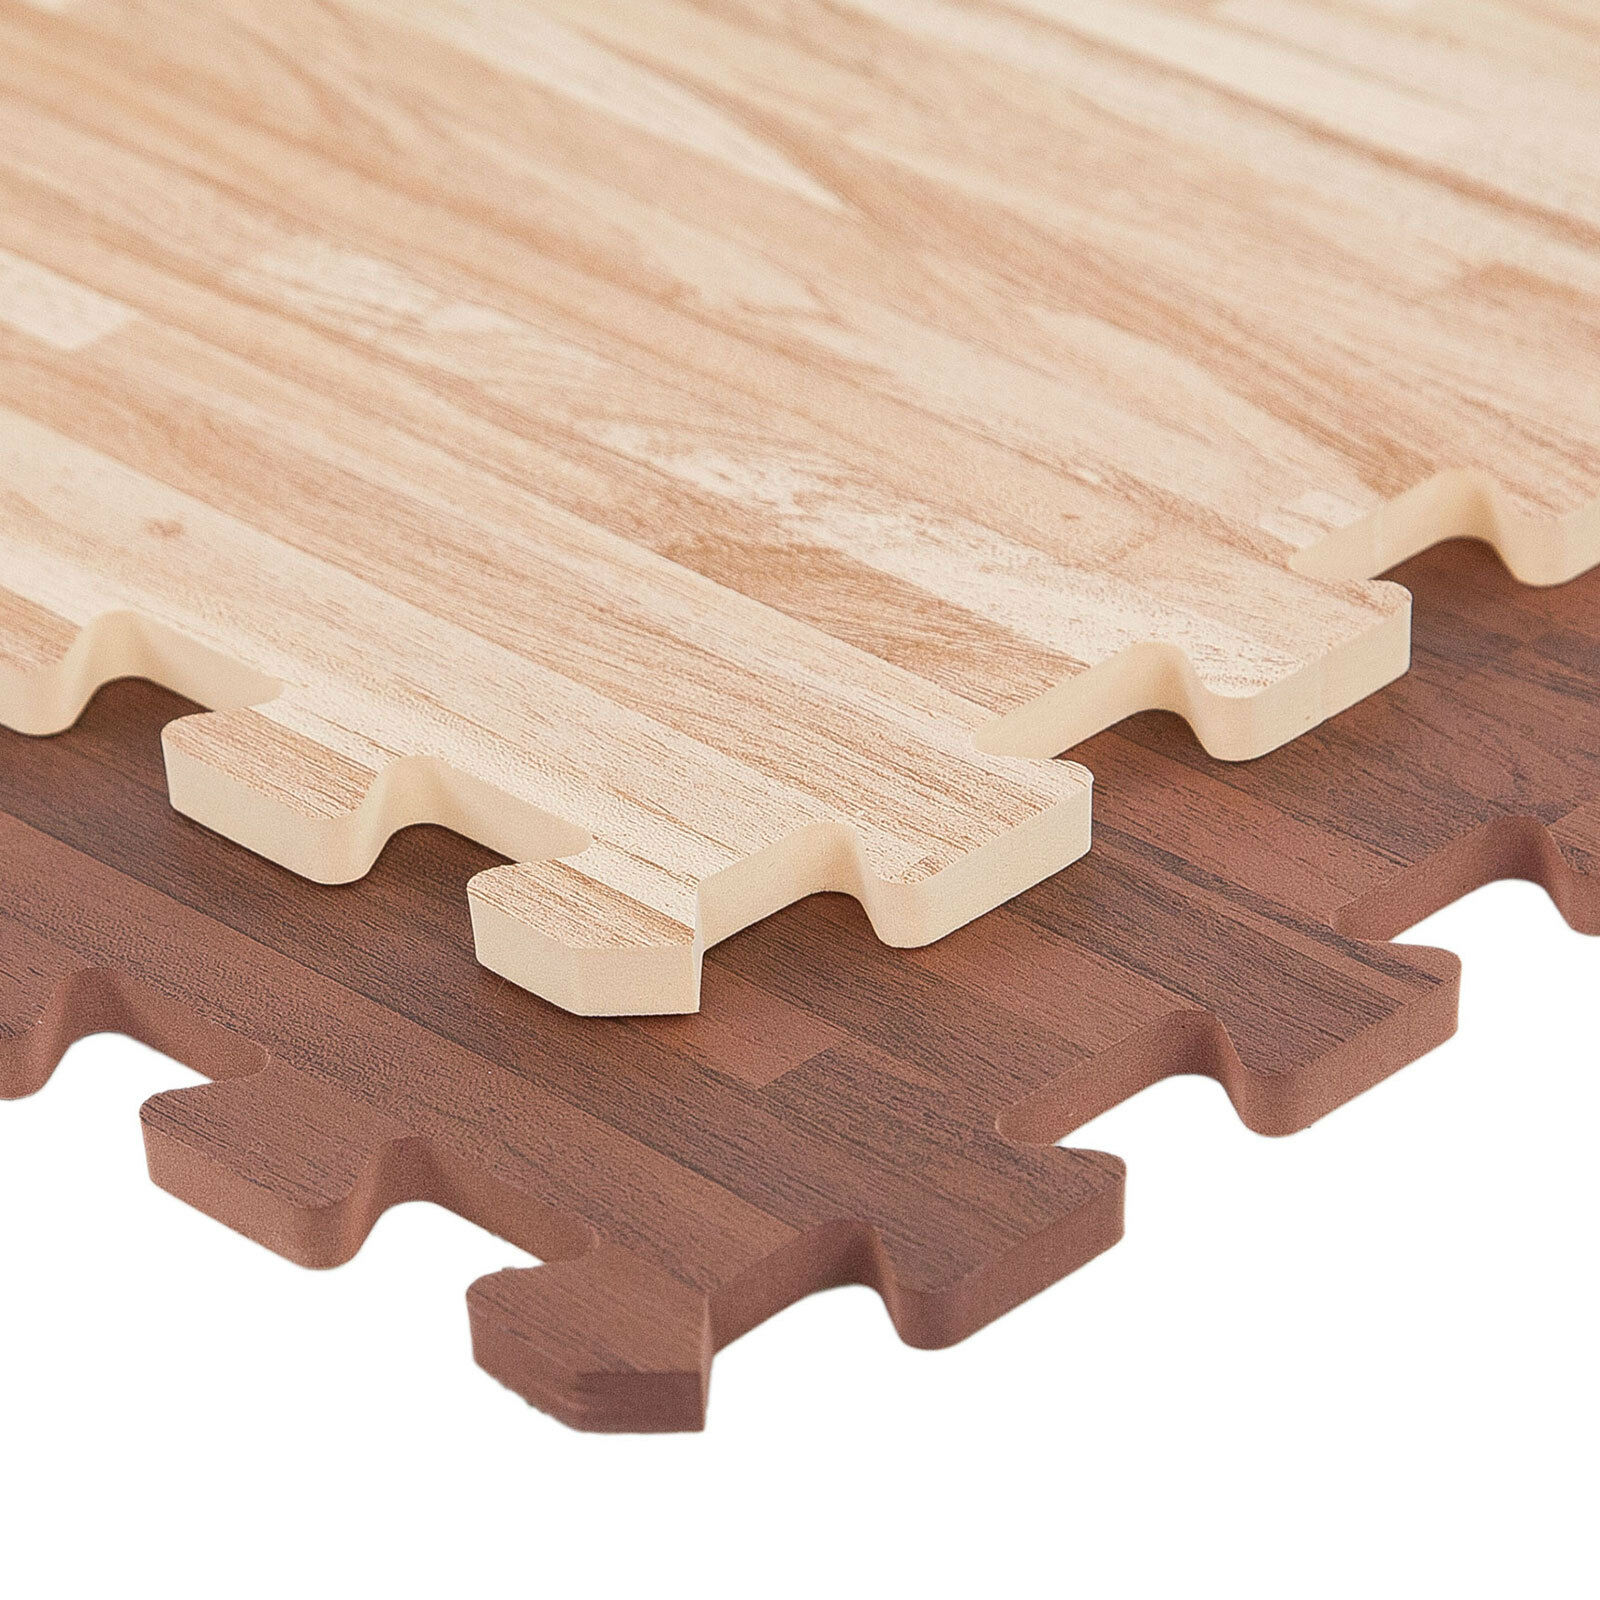
Designer wood appearance.
Perfect for light traffic areas.
Available in 2 textured wood finishes.
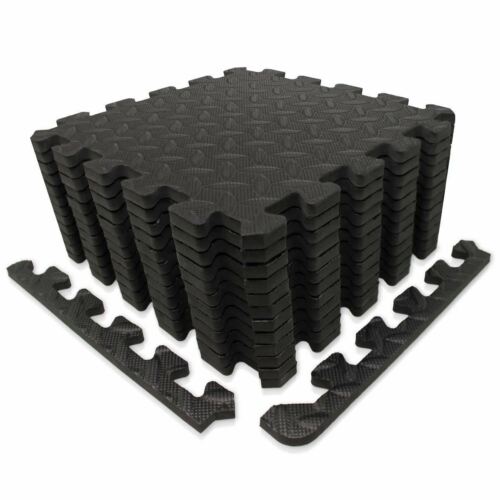
Detachable edge pieces make installation easy.
Low profile 3/8" thickness.
Wood pattern is not guaranteed to line up between tiles.
Recommended Uses
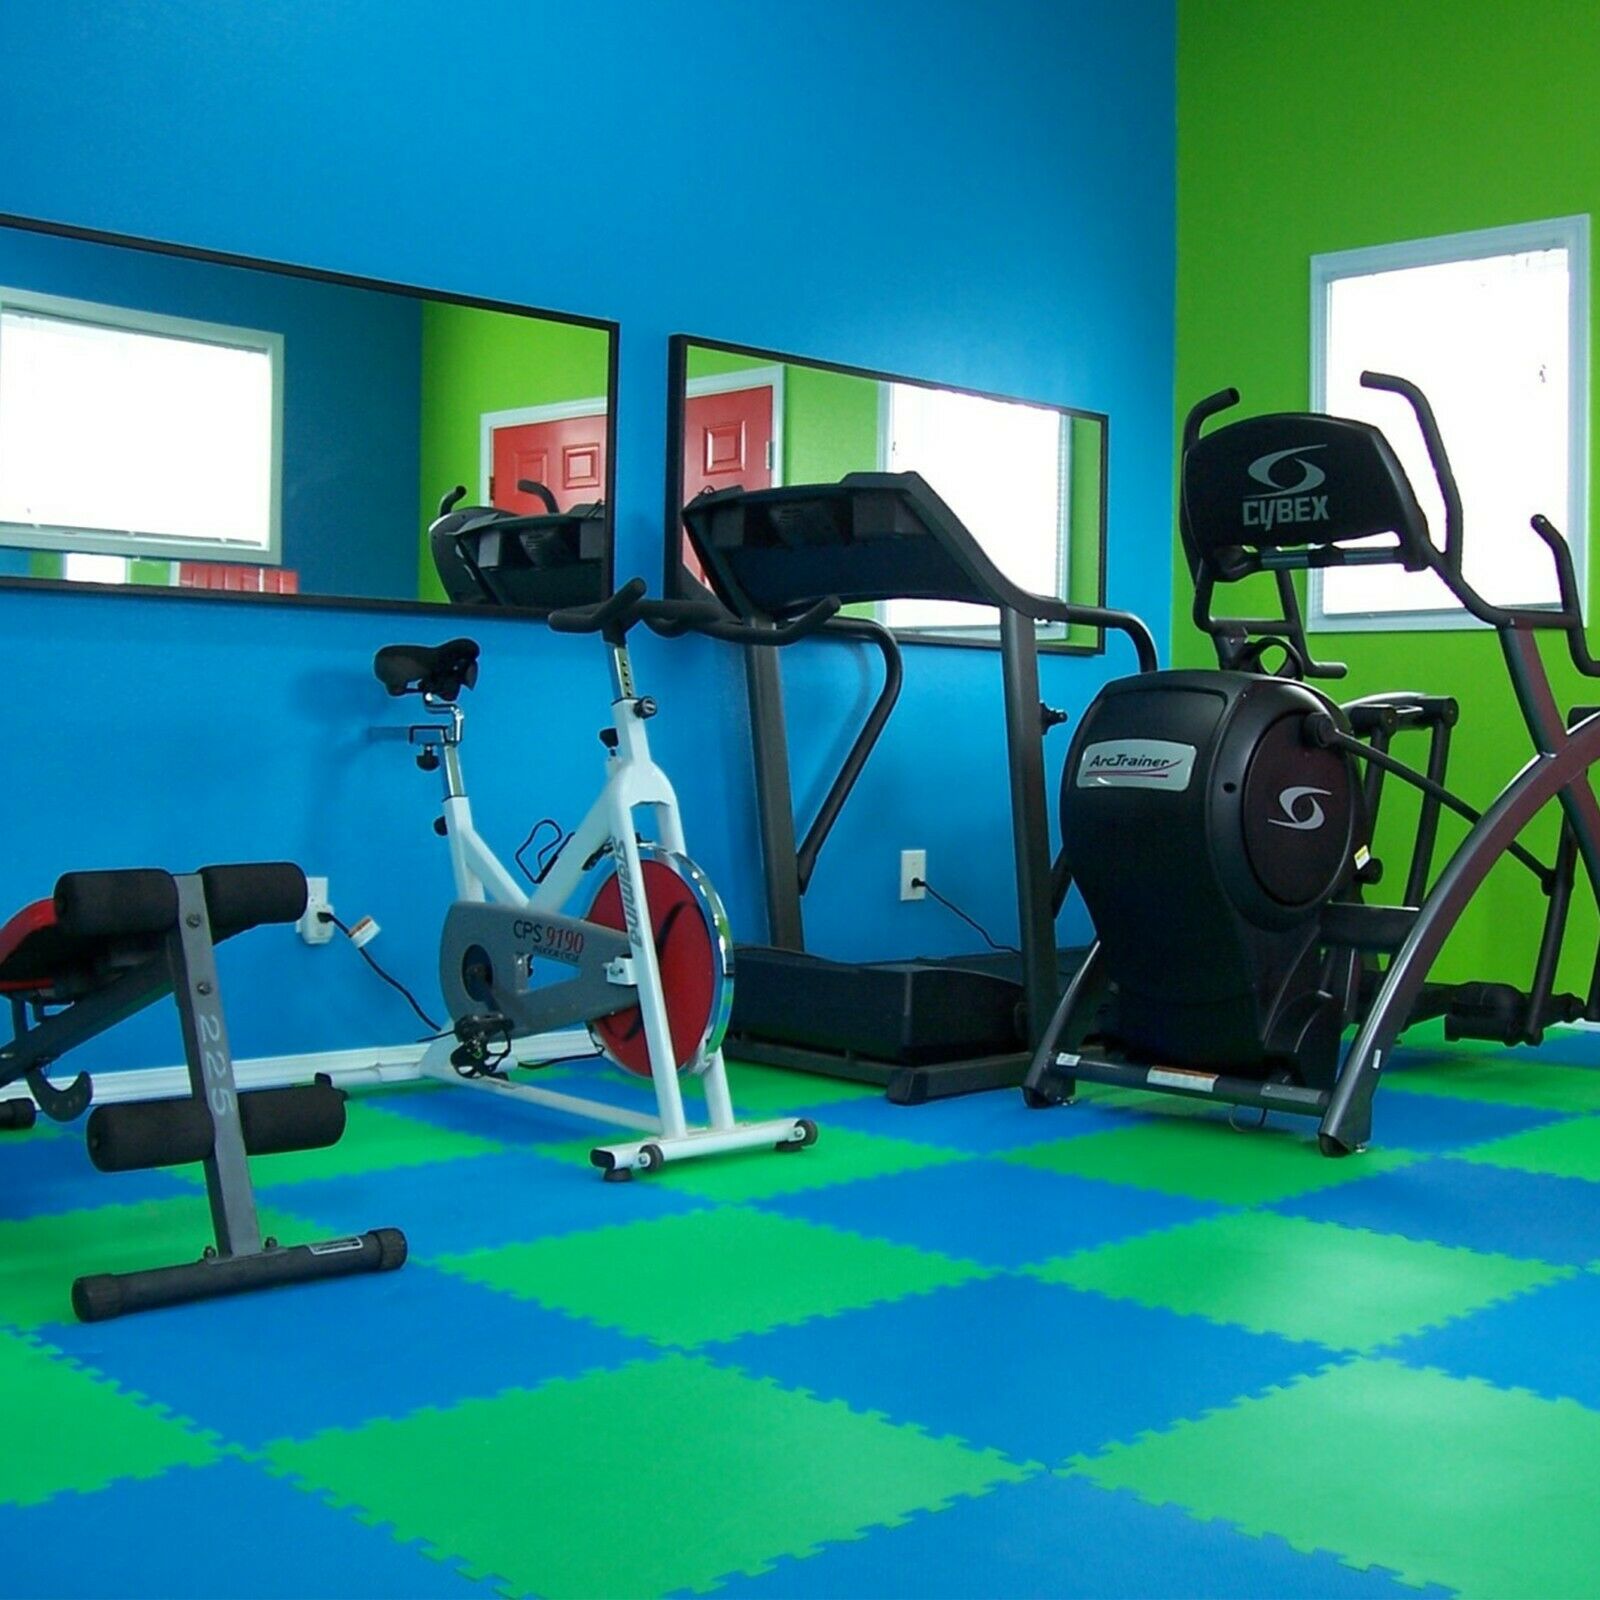
3/8" Soft wood tiles have been used successfully as light duty home gym flooring, exercise mats, trade show flooring, exhibit flooring, retail display flooring, living areas, conventions, or any other location where an elegant yet cushioning flooring surface would be useful.
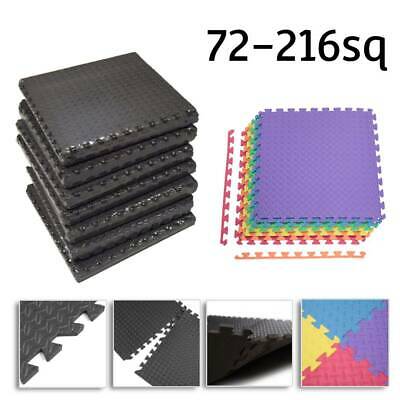
Our 3/8" soft wood tiles offer a low cost foam flooring surface with the attractive textured appearance of a wood floor combined with the softness and cushion of a foam tile. These tiles interlock to make for an easy DIY installation and include detachable edge pieces so that each tile has the ability to be a center, corner, or border tile. Soft wood tiles are also water resistant, easy to clean, and act as an excellent insulator against sound and temperature transmission. Smaller numbers of tiles can be used to make portable and quick to assemble exercise mats.
Note: This product is not designed for medium to high traffic areas. The wooden design can be punctured under sharp animal nails, rough use, high heels, and the wooden pattern is not guaranteed to always line up between interlocking tiles.
Material:
Closed cell EVA foam
Size:
2' x 2'
Weight:
.625 Lb. per tile
Maintenance:
3/8” thick soft wood tiles can be maintained just like your wood flooring at home.
The recommended cleaning instructions typically include sweeping the tiles to remove any loose or dry dirt, crumbs, dust, or debris.
To clean harder stains or liquids off of the soft wood tiles, the tiles should be wiped off with a damp rag or temporarily lifted and cleaned under warm running water in a sink or bathtub.
Installation:
Installation of interlocking tiles is very simple and typically done by the consumer. Typical installation of these tiles is as follows:
First, clean your sub floor so it is free of all dirt, grease or debris.
Start in one corner of the room with a corner tile and add border tiles outward along the adjacent walls. Add center, corner, and border tiles where you see fit.
When coming up to an opposite wall, make sure you cut the tiles to fit the area leaving a gap that’s roughly the thickness of the tiles being used to account for expansion and contraction of the floor tiles in varied temperature ranges.
Note:
When piecing interlocking tiles together, adhesives are usually not used since the weight of the locked together product is usually enough to keep the floor tiles from moving. However, if you do experience movement and would like to ensure that the tiles do not slide at all, some double-sided tape or mat tape can be used around the perimeter of the installation to prevent any movement.
